This procedure takes into consideration that already add a physical disk or lun the OS.
Identify the disk
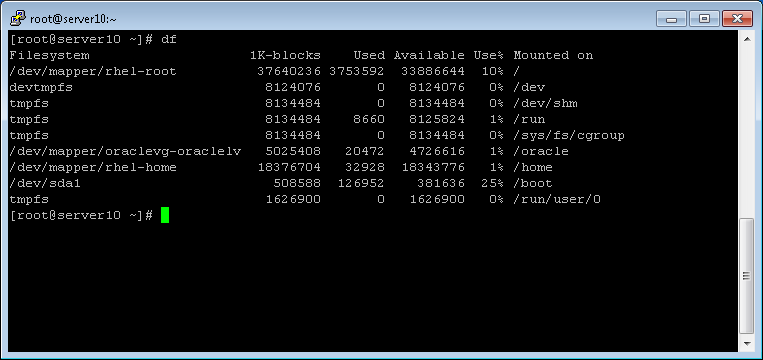
- With the “df” command will check our current disc
- Now, to identify the new disc, we can execute the command “dmesg” and search for “disk” : #dmesg | grep disk
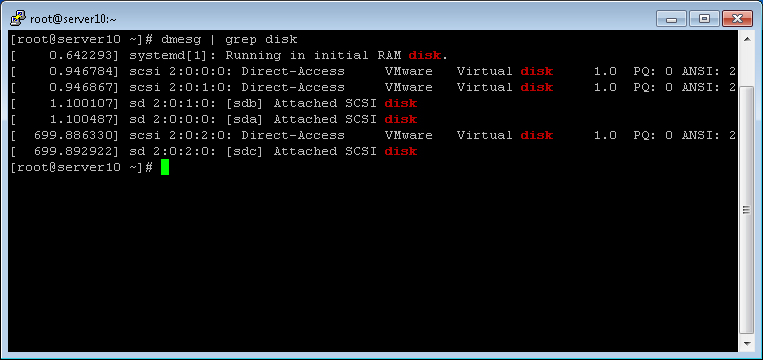
- We had the disks “sda” and “sdb” just identified our newly added disk, the “sdc”
- With the identified disk, now we will prepare it for use in Linux. Prepare basically consists of partition and format the disk.
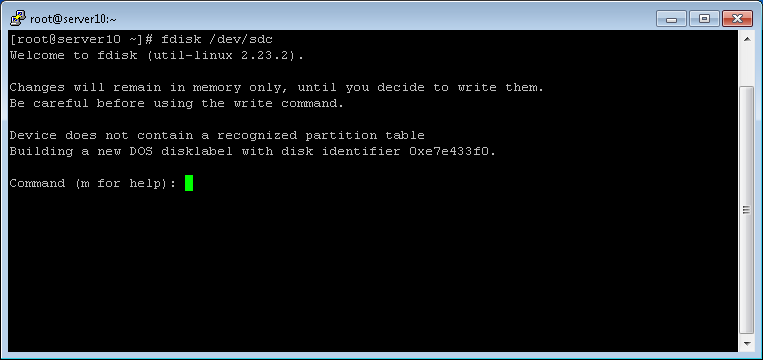
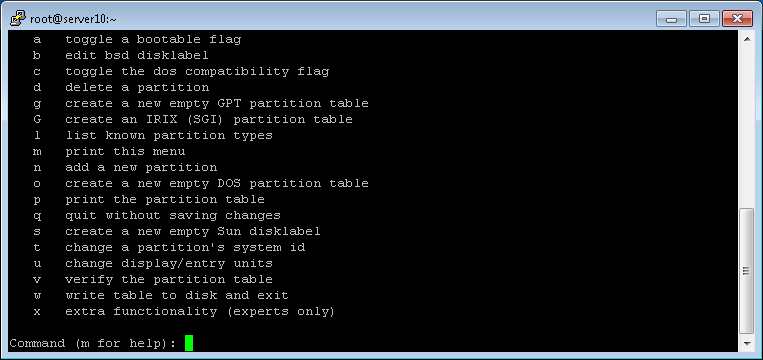
- To partition, we will use the command “fdisk” : #fdisk /dev/sdc
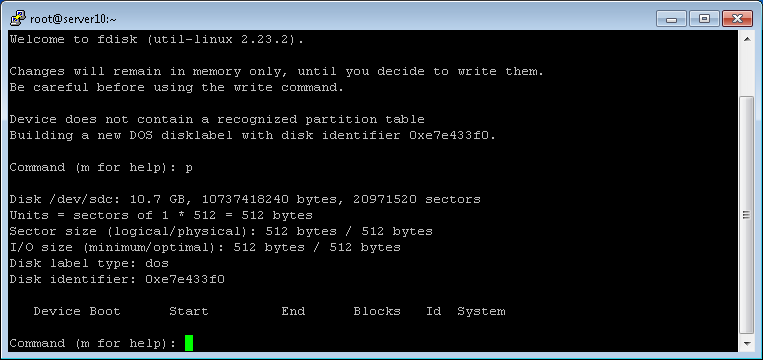
- In fdisk, type “p” to display information on the disc as the current partitions (which in our case does not exist), “m” for help.
- If we do not have partitions, we will create, command “n”
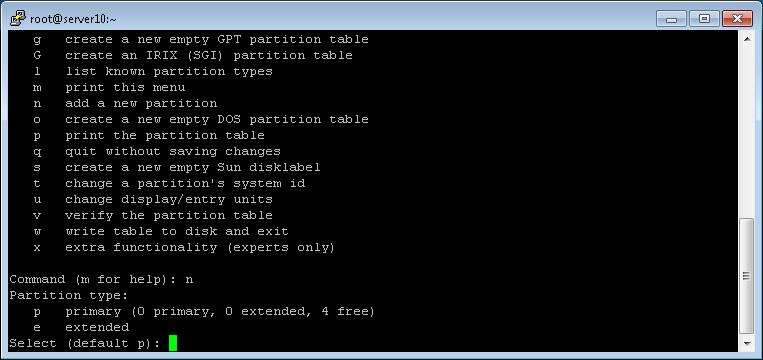
- And then a new list created partition
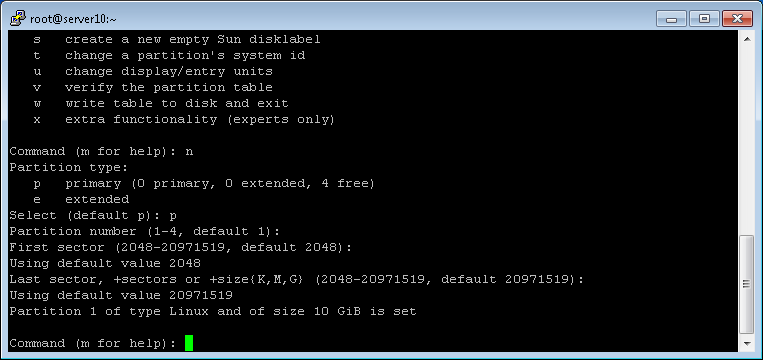
- By default, the type of partition created is “Linux”. This type is used for file systems like Ext2 / Ext3 / Ext4, for example.
- If you are just adding a disk and do not want to use with LVM, you can skip the next steps, save changes to the partition table (by typing “w” in fdisk) and go straight to the command “mkfs.ext4” further text end. If you want to use LVM, keep reading.
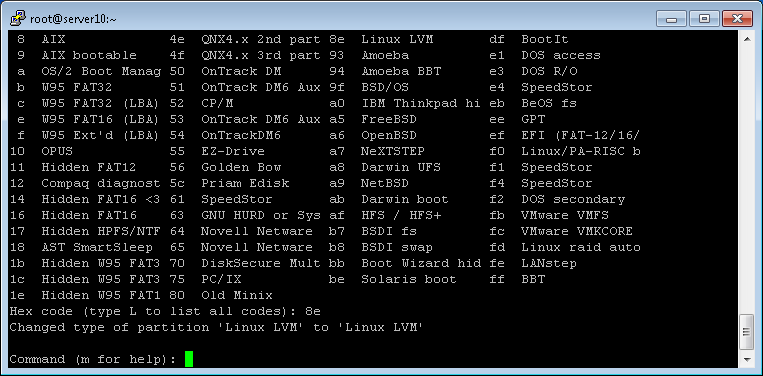
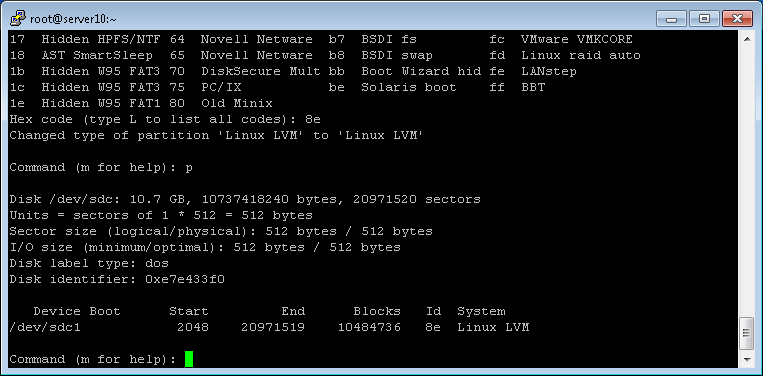
- To use the partition with LVM, you must change the partition type. For this, still in fdisk, type “t” and change the type to “8e” (Linux LVM)

- We will list the partition table to check changes, command “p”.
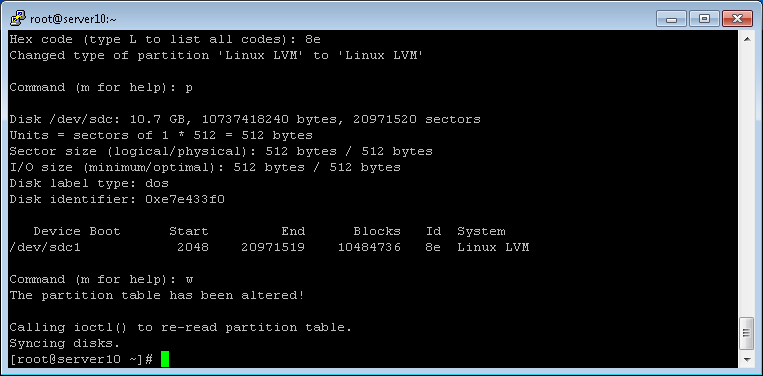
- If they are OK, just save the changes and exit the fdisk (“w” command)
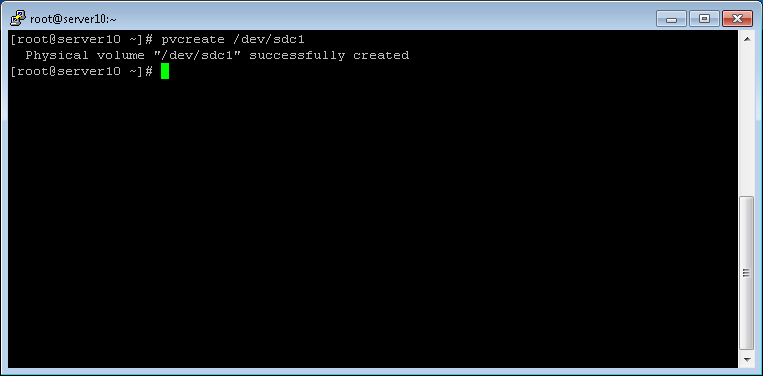
- So far we have created partition and type modified to Linux LVM. We then create a physical volume for LVM. This can be done with the command “pvcreate” : #pvcreate /dev/sdc1
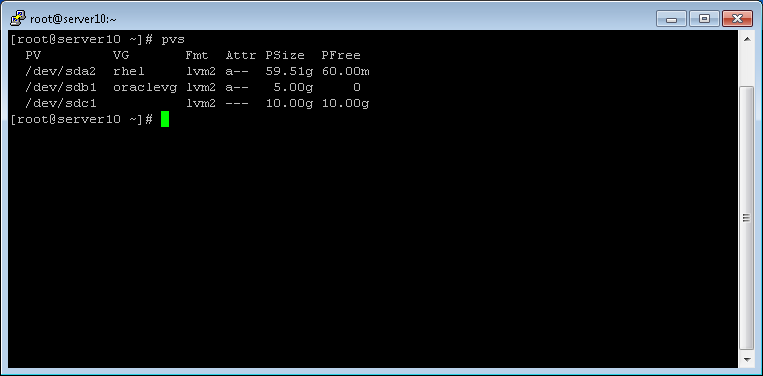
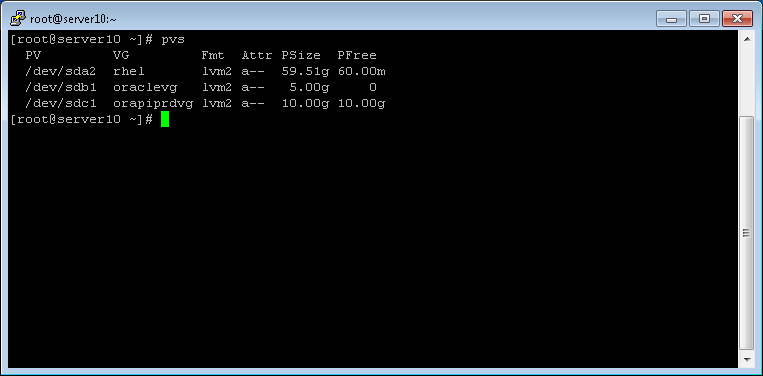
- So let’s see some information about this new physical volume created : #pvs
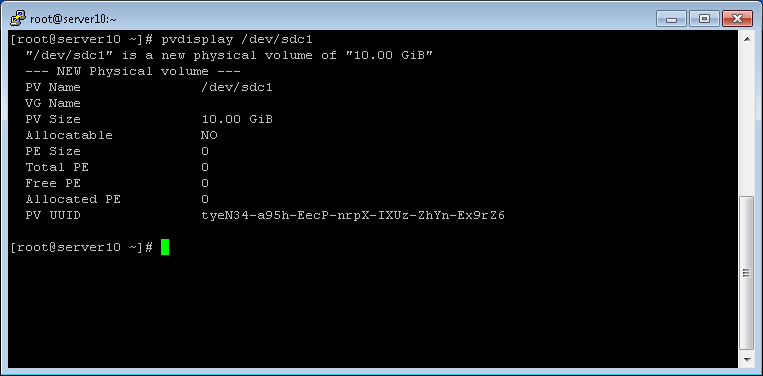
- View the attributes of this volume : #pvdisplay /dev/sdc1
- In a physical volume, we need to create Volume Groups, which are the logical structures where we will finally store the data.
- To list information about Volume Groups, use the command “lvs” : #lvs
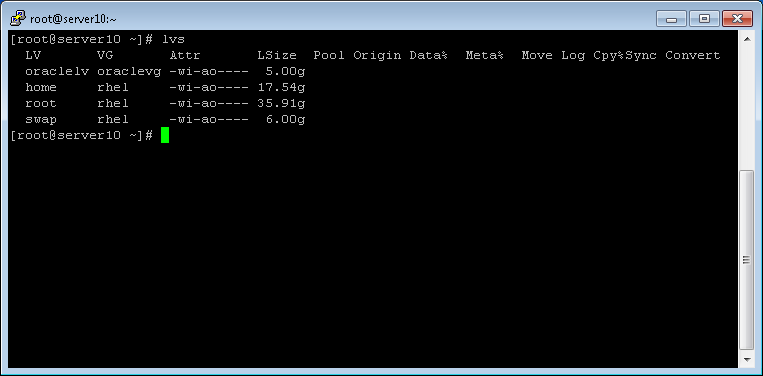
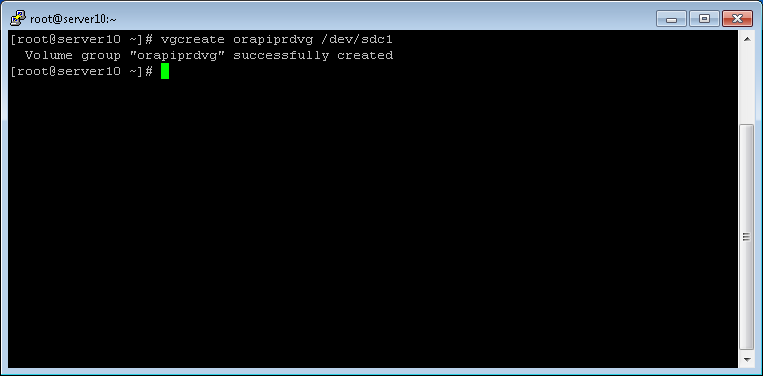
- Displays the volumes that we have now will create a Volume Group called “orapiprdvg” on this record we just partition and add a physical volume to it, we will use the command “vgcreate” : #vgcreate orapiprdvg /dev/sdc1
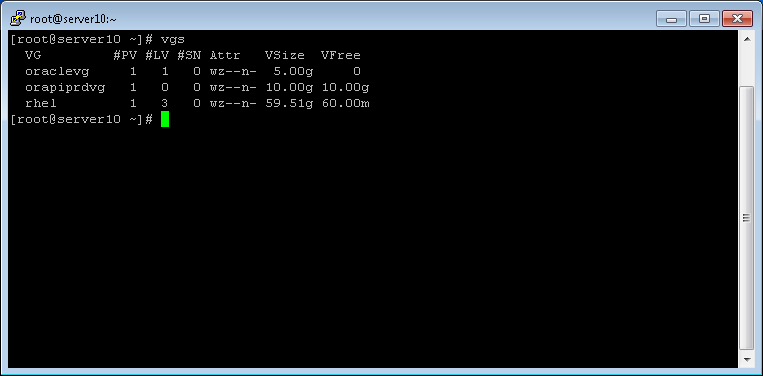
- To list information about Volume Groups, you can use the command “vgs” : #vgs
- If we run the command “pvs” again we will note that the column “VG” is now filled with our “orapiprdvg” newly created : #pvs
- Having a Volume Group created, we can create one or more Logical Volumes. The great advantage of working with volumes is able to easily add and/or remove space of a logical volume. If we have free space available in Volume Group, we can add space to a Logical Volume without even having to stop the system.
- To create a logical volume, use the command “lvcreate” : #lvcreate -L 10G -n orapiprdlv orapiprdvg
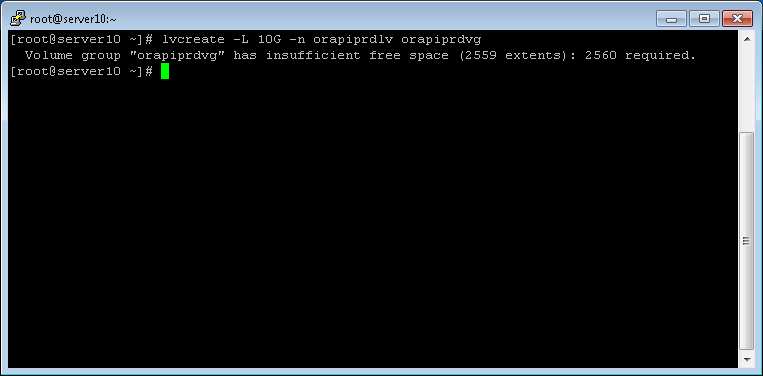
- One point to note is that when we create the Volume Group allocated 10 Gbytes for the same but now we could not do the same for the logical volume, why?
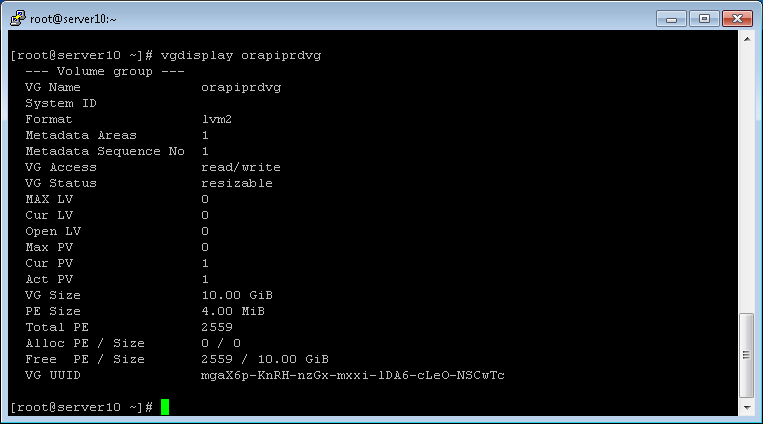
- All volumes are divided into smaller parts, called “extents”. An extent is the smallest part of a allocable volume and where we create a volume, extent is reserved and can not use it. So our ability to use a volume can be defined as “total volume size less an extent.”
- Let’s see “vgdisplay” how many extents have free in our group volume. Just look for the line “Free PE / Size” and observe that we have in 2559 instead of 2560 needed to 10 Gbytes : #vgdisplay orapiprdvg
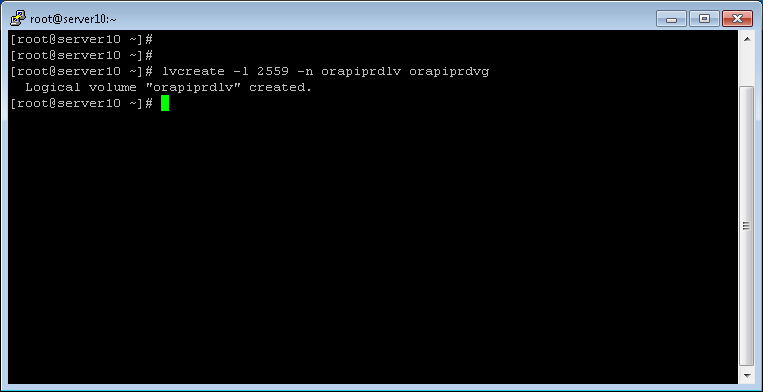
- Then we create a logical volume again, but instead of asking 10 GB in size (parameter “-L 10G”), we will ask 2559 extents (parameter “-l 2559”) : #lvcreate -l 2559 -n orapiprdlv orapiprdvg : #lvcreate -l 2559 -n orapiprdlv orapiprdvg
- Then we run vgdisplay again to verify that the line “Alloc PE / Size” has to show “2559 / 10:00 GiB” instead of “0/0” which was previously : #vgdisplay orapiprdvg

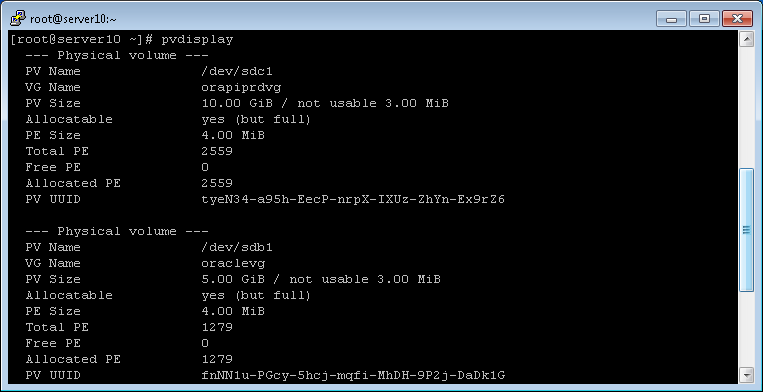
- The pvdisplay command also shows that we have all the volume allocated : #pvdisplay
- And the “lvs” command to list all logical volumes created : #lvs

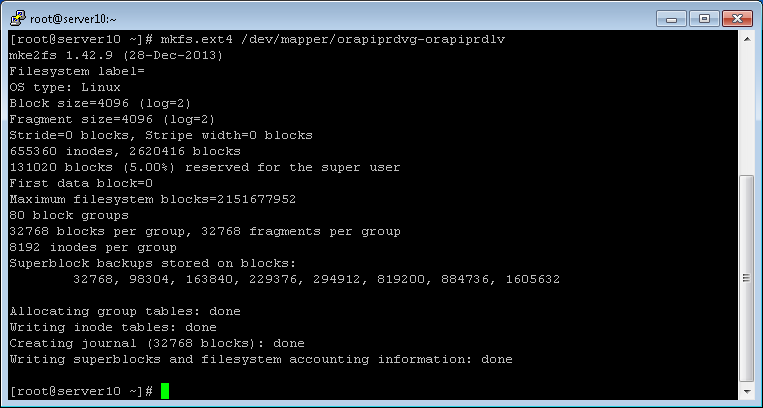
- With all executed steps, just format the logical volume with the command “mkfs.ext4”. At this point, if you chose not to use volumes, replace the path to your partition which in this case would be /dev/sdc1 : #mkfs.ext4 /dev/mapper/orapiprdvg-orapiprdlv
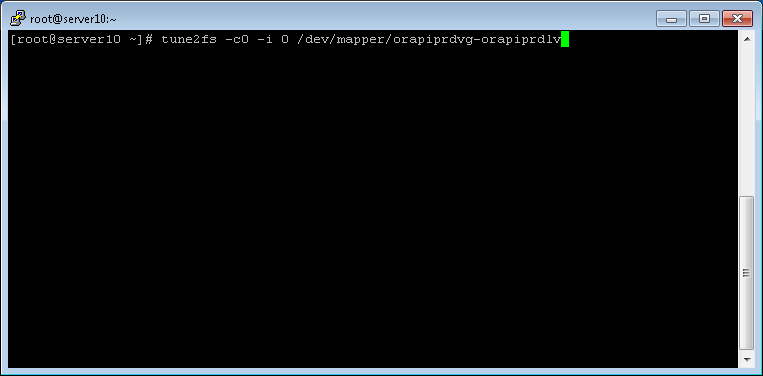
- If you do not want the drive to be tested every 27 mounts or 180 days, which are the default values. So with “tune2fs”, we switch to it never automatically check : #tune2fs -c0 -1 0 /dev/mapper/orapiprdvg-orapiprdlv
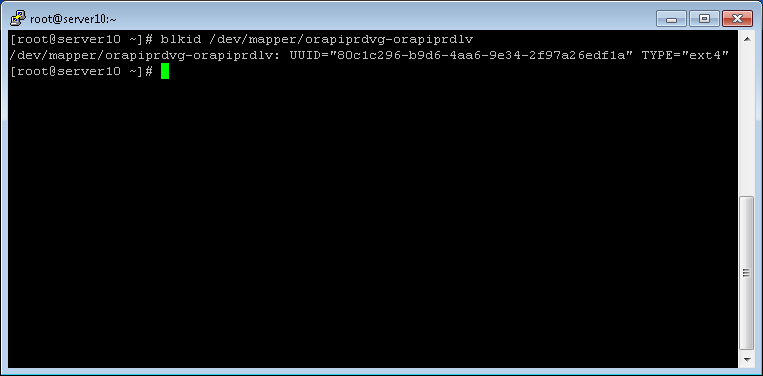
- To mount the volume automatically throughout the system boot, let’s put it in the /etc/fstab. For this, we identify the “id” of the volume, with the command “blkid” : #blkid /dev/mapper/orapiprdvg-orapiprdlv
- Create a directory where we will mount this volume : #cd /oracle #mkdir ORAPIPRD

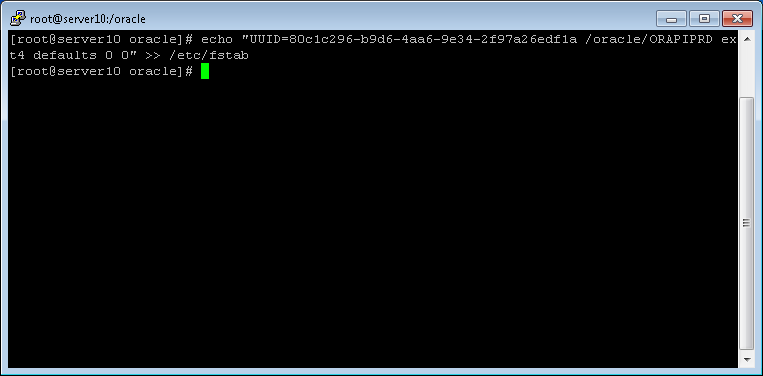
- And add a line to the end of /etc/fstab with the id of the volume, directory, and other parameters : #echo “UUID=80c1c296-b9d6-4aa6-9e34-2f97a26edf1a /oracle/ORAPIPRD ext4 defaults 0 0” >> /etc/fstab
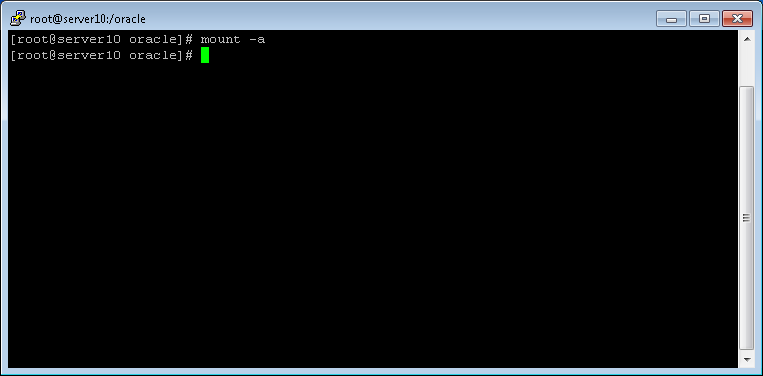
- We set up all devices contained in /etc/fstab
- Finally check if everything is OK
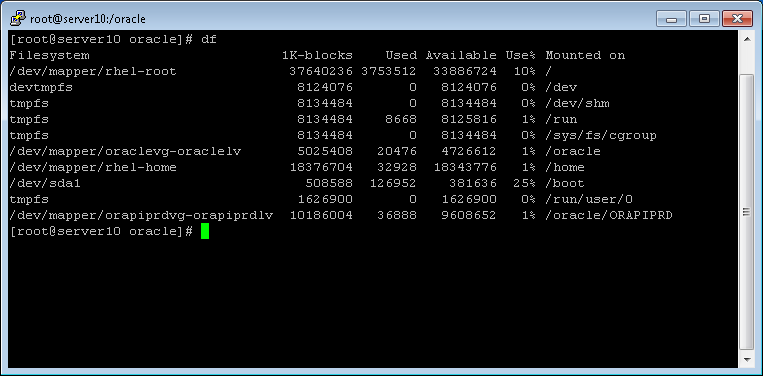
- There, our Logical Volume “orapiprdlv” contained in Volume Group “orapiprdvg”, identified as “/dev/mapper/orapiprdvg-orapiprdlv” was mounted in the “/oracle/ORAPIPRD”.
- If you want to rename a VG or LVM
vgrename /dev/nome1vg /dev/nome2vg
lvrename /dev/nome2vg/nome1lv /dev/nome2vg/nome2lv